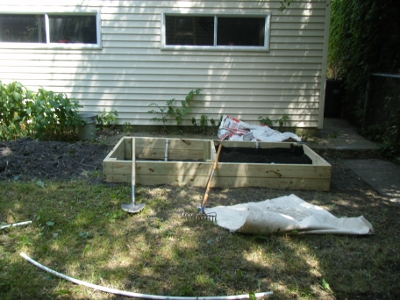
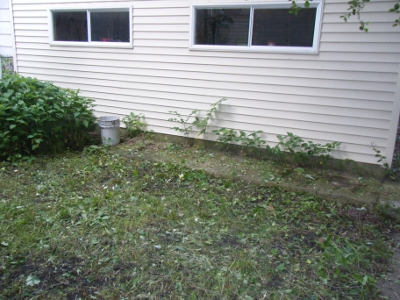
 So this is the space where I would like a new garden bed to be in my yard. A couple of days ago (the hail storm day) I looked at plans to build a raised garden bed at this site. So far, things have been going okay, though not stellar. I have to say that since I renovated my apartment, I have at least learned how to use the right tool for the right job. Of course, at the time, I was working with my father in law, who is a master carpenter, woodsmith, electrician, locksmith, and skilled at many other trades as well as the owner of every tool imaginable. What I seem to struggle with is how to use the tools at my disposal (which are usually the wrong ones) and the materials I have (which are usually subpar) to try to approximate the work of a master craftsman, or at least not fall apart moments after assembly.
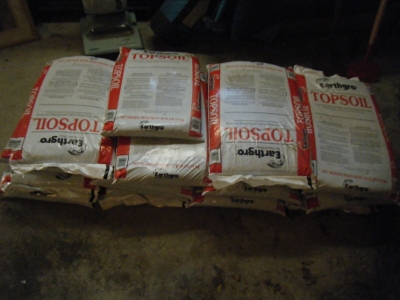
 On Friday, I bought some materials from Home Depot including lumber and PVC piping for the frame for a bird net (to keep out Robins which are pretty numerous in my neighborhood). At HD, they would not cut down the 10′ PVC lengths for me, and instead handed me a coarse tooth, tree hack saw and told me to cut it myself; I don’t see how having, for all they know, and unskilled person who might have never held a saw in his hands before today try to saw a 10′ bendy pipe on a pipe rack where it is wobbling all over the place is a good move for their insurance premiums, but who am I to question. After some work and help from a dude passing who took pity on me, I finally hacked down the pipe and got it in my Honda Civic. I got the materials home and was ready to work. You can see them stacked up in my garage on the left. The only problem: apparently, the “indoor” yard at HD is really and outdoor yard where they move in the lumber every morning, because the wood was thoroughly soaked when I got it home. My guess is that it was either kept outdoors and soaked by the hail/rain storm Thursday, or it was on a flatbed on its way up to Chicago that day.
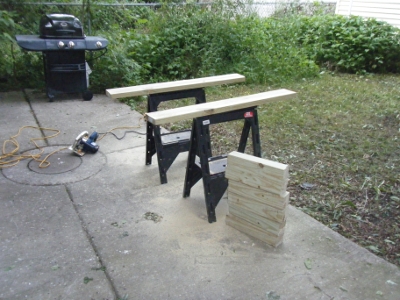 Despite the soaking wet lumber, I tried to get some good cuts, but to no avail. The wood was soaked and hard to cut down, gumming up and just being difficult in general. I got nothing but bad cuts the first day, so I let the wood dry out one day and it was still pretty wet today when I went out to cut. I finished up my cuts today, but they were not too great. I will need to chisel and file down some rough cuts to make it look semi-respectable, and it will certainly look nothing like the image in the plans with ultra plumb fits on their boards. Hence, why it matters to have a chop saw when needing nice cuts like this (birthday gift anyone??).
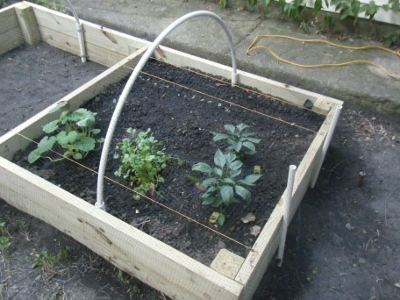
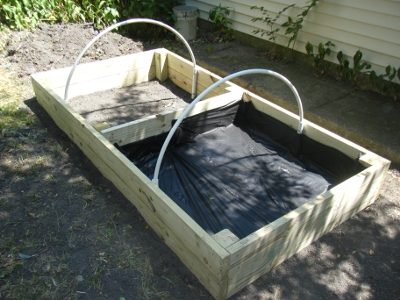
Today, I laid all my pieces out and was ready to start fastening, when my cordless drill crapped out on me. I tried to recharge the battery and puttered around the house while I waited, but all for naught. The batteries were totally drained and the power was just not there to drive the 3.5” deck screws into the boards. With disappointment, I had to pick up all my materials and tools and wait since I had no time to clean up and make a run to HD for a new drill. I found a Ryobi 3/8” 4.5 amp driver that looks like it will get the job done, so I will pick it up tomorrow and hopefully build the box Monday afternoon. I’m really hoping to have the bed in, filled, covered, and planted by Friday, so I will try to post an update then.